 How-to
How Do You Prep a House for Sale? A Seller's Guide
Last Updated: November 1, 2026
Quick Summary
To prepare house for sale, start with an honest walkthrough, set your list price before spending on prep, and sort tasks into must fix, should fix, or skip. Then declutter, depersonalize, deep clean, handle safety and function repairs, and finish with neutral paint, curb appeal, and staging.
- Fix safety and function issues before cosmetic ones, and skip big-ticket upgrades buyers rarely pay extra for.
- Empty about a third of every closet and clear countertops so buyers see space, not your stuff.
- Light prep like cleaning and decluttering can happen in a week, while repairs, paint, and staging usually push the timeline to three or four weeks.
- Turn on every light and open curtains for listing photos, scheduling the shoot for the brightest part of the day.
- Gather permits for past work, warranty papers, and known-issue disclosures so you can answer buyer questions quickly.
Table of Contents
- Start With a Plan: Assess, Budget, and Prioritize
- Declutter, Depersonalize, and Deep Clean
- Repairs to Make Before Selling a House
- Paint, Curb Appeal, and the Front Door
- Home Staging Tips for Sellers
- How Long to Prepare a House for Sale
- How to Get Your House Ready to Sell Checklist
- Get a Local Market Walkthrough Before You List
- Frequently Asked Questions
Start With a Plan: Assess, Budget, and Prioritize
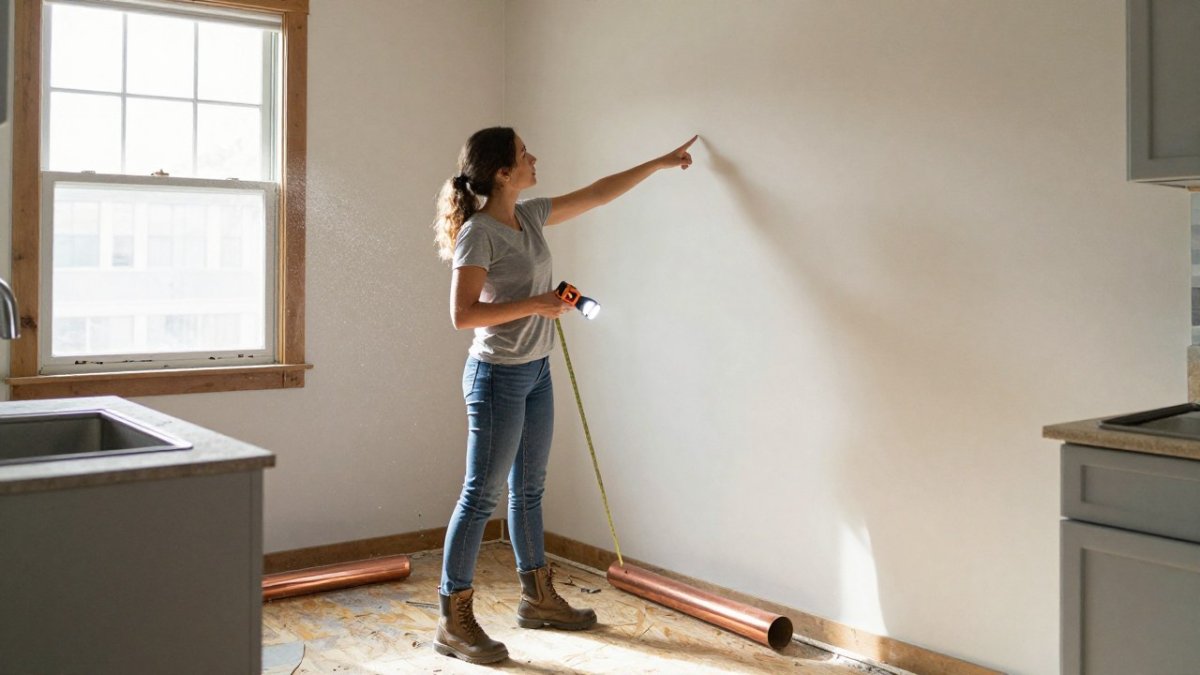
Learning how to prepare house for sale starts with one honest walkthrough. Grab a clipboard and tour every room, the yard, and the garage. Write down what a buyer would notice first, then sort each item into "must fix," "should fix," or "skip."
Most sellers guess at what to tackle. A better approach is to set your target price first, then work backward. That tells you how much prep makes sense.
A few planning rules we give every seller:
- Set your list price before you spend a dollar on prep
- Fix safety and function issues before cosmetic ones
- Spend on what shows up in photos and the first walk-through
- Skip big-ticket upgrades buyers rarely pay extra for
Budget tiers and realistic returns
Prep spending is not one-size-fits-all. Think in three tiers, and be honest about what each buys you.
Low budget (roughly under $1,000). This tier is about labor, not materials.
Medium budget (roughly $1,000-$5,000). This is where targeted repairs and paint live. Fix active leaks, running toilets, damaged caulk, and sticking doors.
High budget (roughly $5,000 and up). Reserve this for function and safety issues a buyer or inspector will flag: roof leaks, failing HVAC, outdated electrical, or drainage problems.
How to decide what to skip
Use three filters before you spend:
- Will a buyer see it in photos or the first walk-through? If not, deprioritize it.
- Will an inspector flag it as a safety or function issue? If yes, fix it.
- Is it a big-ticket upgrade buyers rarely pay extra for? If yes, skip it unless the home would otherwise not sell.
If you are buying your next place while prepping this one, the juggling act needs a plan too. Our guide to buying and selling a house at the same time walks through the sequencing. And before you budget a single repair, read how to price a home to sell for top dollar so your numbers line up.

Declutter, Depersonalize, and Deep Clean
Clearing clutter is the cheapest, highest-impact prep step. Buyers need to see space, not your stuff. Empty about a third of every closet, clear countertops, and pull excess furniture out of small rooms.
Then depersonalize. Take down family photos, religious items, diplomas, and collections. Buyers should picture themselves in the home, not tour your life.
A deep clean comes next, and it matters more than most sellers expect. Clean every room top to bottom:
- Scrub grout, tile, and bathroom fixtures
- Vacuum carpets and wash hard floors
- Clean inside windows and wipe all blinds
- Wash cabinet fronts and degrease the range hood

Repairs to Make Before Selling a House
Fix what is broken, then stop. That is the short version of repair priorities.
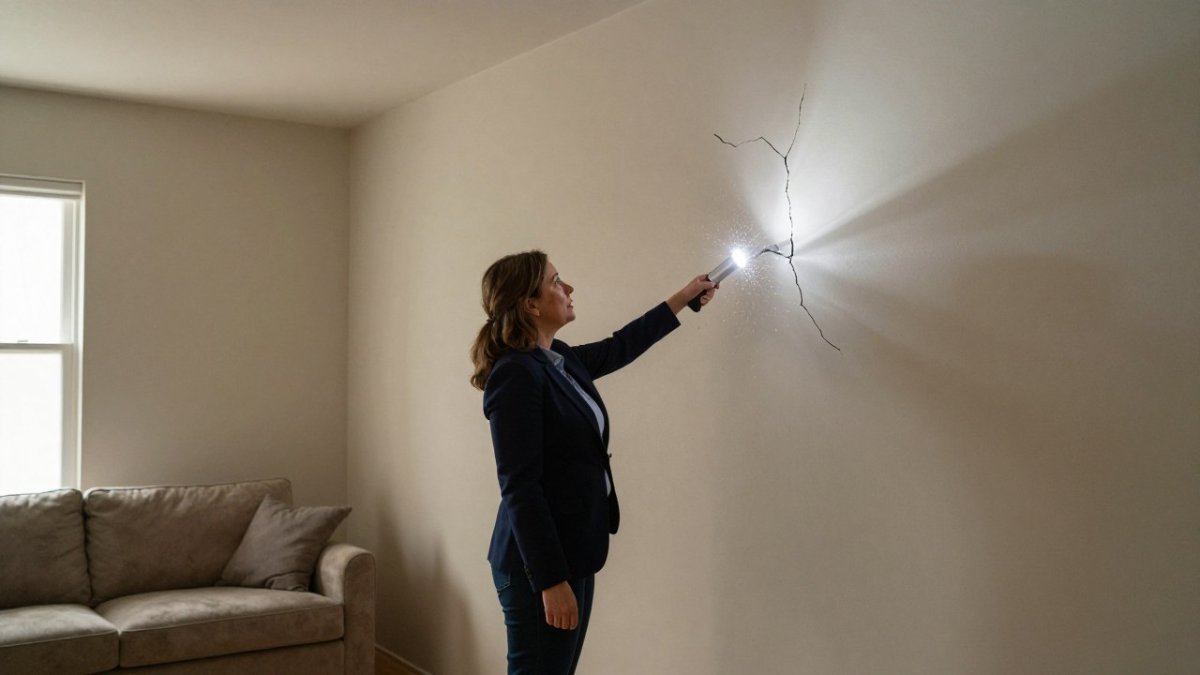
What most guides miss is that small visible flaws make buyers wonder what else is wrong. A loose cabinet handle reads as "this home was not maintained."
A practical repair order to consider:
- Water issues: leaks, stains, poor drainage
- Electrical and safety: outlets, smoke detectors, handrails
- Doors and windows that stick or fail to latch
- Cosmetic damage: caulk, grout, patched drywall
Not sure which problems actually cost you money? Read what devalues a house the most before you book a contractor. It helps you separate the repairs buyers punish from the ones they ignore.
Paint, Curb Appeal, and the Front Door
Paint is the best return for the money in most prep plans. Fresh neutral colors make rooms feel bigger and cleaner. Stick to warm whites, soft grays, and greige. Bold accent walls rarely help a sale.
Outside, buyers decide fast. Stand at the curb and look at your home the way a stranger would. Then fix what you see:
- Trim overgrown hedges and edge the lawn
- Power wash the walkway, siding, and driveway
- Clear cobwebs, leaves, and yard clutter
- Repaint or replace the front door if it looks worn
- Add a clean doormat and a potted plant
The front door matters more than sellers think. It is the first thing a buyer touches. A fresh coat of paint on the door and clean hardware cost little and change the whole entry.

Home Staging Tips for Sellers
Staging is furniture arrangement and styling that helps buyers see how a room works. It is not decorating for your taste. The goal is a calm, open, move-in ready feel that photographs well.
Start with what you own. Pull furniture away from walls, remove pieces that block walkways, and add light. Bright rooms photograph better and feel larger.
Small staging moves that work:
- Swap heavy curtains for light, neutral ones
- Add white towels and a plant to bathrooms
- Set a simple table setting in the dining room
- Store pet gear, cords, and kids' toys before showings
A common mistake is over-staging with rented furniture that does not fit the room. Fit beats fancy every time.
Room-by-room photography preparation
Listing photos are the first showing. Prepare each room for the camera before the photographer arrives:
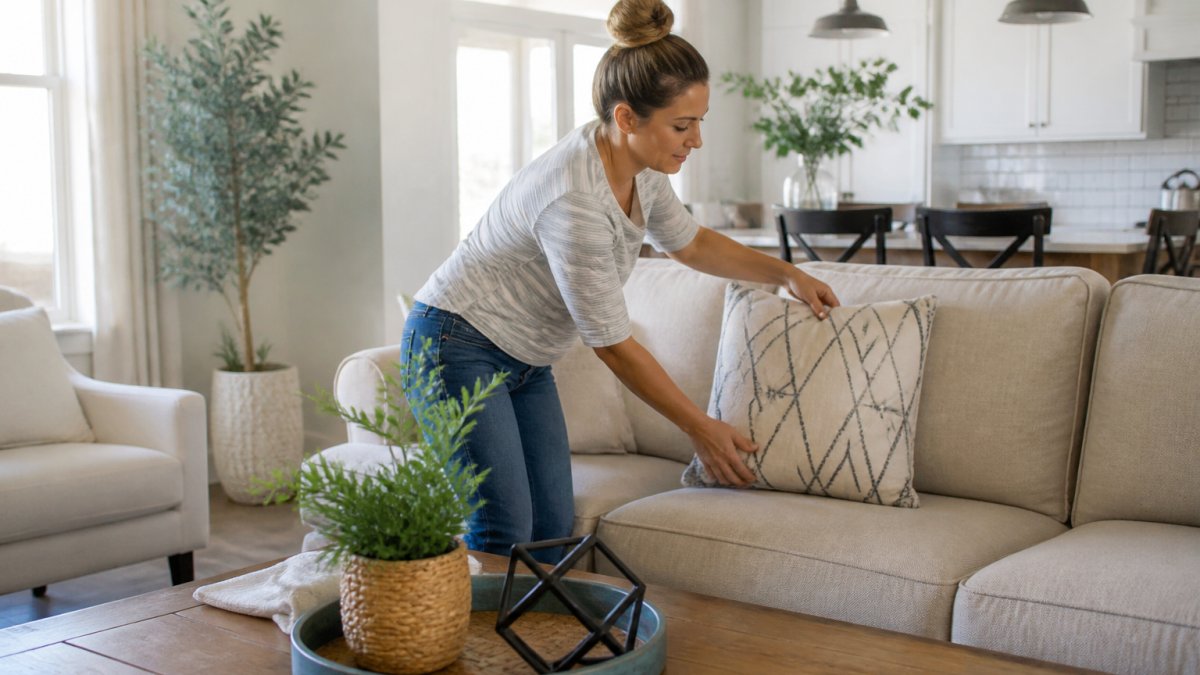
- Living room: Clear coffee tables to one or two objects, fluff pillows, and hide remotes and cords. Open blinds and turn on lamps so the room reads bright and even.
- Kitchen: Clear counters to a single bowl or board, put away small appliances, and wipe cabinet fronts. Remove dish towels and sponges from view.
- Bedrooms: Use crisp, neutral bedding, clear nightstands, and store laundry and charging cables. Make the bed the focal point.
- Bathrooms: Close toilet lids, clear the counter, hang fresh white towels, and remove personal items from the shower and tub.
- Entry and hallways: Keep them clear and bright. A clean doormat and a single plant or piece of art help the entry photograph well.
Lighting matters as much as arrangement. Turn on every light for photos, open curtains, and schedule the shoot for the brightest part of the day. If a room is dark, add a floor lamp rather than relying on the camera to fix it.
Odors, pets, and valuables before showings
Buyers notice smell before they notice style. Before every showing:
- Air the home out and avoid cooking strong-smelling food the day of
- Clean pet areas, litter boxes, and bedding, and move pets and their gear out of sight
- Skip heavy air fresheners, which can read as covering something up; a clean, neutral smell is better
- Store valuables, medications, and financial documents out of sight and out of reach
The daily reset before showings
Staging is not a one-time event. Build a short daily reset so the home stays showing-ready:
- Make beds and clear counters
- Wipe bathroom surfaces and close lids
- Take out trash and recycling
- Turn on lights and open blinds
- Put away pet gear, toys, and cords
- Do a quick sweep of the entry and walkway
A simple reset routine keeps the home photo-ready and calm for every buyer who walks through.
How Long to Prepare a House for Sale
Preparation timelines vary with the home's condition and the work required. Light prep, like cleaning and decluttering, can happen in a week. Repairs, paint, and staging usually push the timeline to three or four weeks. Larger projects take longer.
The season affects your timeline too. Listing in a busy spring market may mean moving faster, while a slower season gives you room to fix more. Our guide to the hardest month to sell a house explains how timing shifts your prep plan.
A simple week-by-week view:
Week | Focus | Typical Tasks |
|---|---|---|
Week 1 | Assess and declutter | Walkthrough, budget, clear rooms |
Week 2 | Repairs | Fix leaks, caulk, doors, outlets |
Week 3 | Clean and paint | Deep clean, neutral paint touch-ups |
Week 4 | Curb appeal and staging | Yard work, front door, furniture arrangement |
Week 5-6 | Photos and showings | Final touch-ups, listing photos, open house |
How to Get Your House Ready to Sell Checklist
Use this home-selling checklist as your single source of truth. Work top to bottom and check items off as you go.
- Complete a full walkthrough and write a repair list
- Set your list price before spending on prep
- Declutter closets, counters, and storage areas
- Remove personal photographs and items
- Pull excess furniture from small rooms
- Deep clean every room, including windows and floors
- Fix leaks, running toilets, and damaged caulk
- Test smoke detectors and check handrails
- Touch up interior paint in neutral colors
- Trim hedges, edge the lawn, and power wash outside
- Refresh the front door and entry
- Stage rooms and set furniture arrangement
- Book listing photos after prep is done
One overlooked area: documentation. Gather permits for past work, warranty papers, and any known-issue disclosures so you can answer buyer questions quickly.
Get a Local Market Walkthrough Before You List
Every prep plan needs a local set of eyes. A market walkthrough tells you what buyers in your area expect, what to fix, and what to leave alone.
Gina Poslusny with Weichert Realtors helps home sellers, buyers, and investors in the Phillipsburg area and surrounding region.
A well-planned prep process can help a home sale go more smoothly. To discuss your home, contact Gina Poslusny with Weichert Realtors directly through the website.
Frequently Asked Questions
How much should you spend getting your house ready to sell?
Pre-listing preparation, including cleaning, small repairs, light staging, paint, and curb appeal, varies with the home's condition and the work required. Spend first on cleaning, decluttering, and safety fixes, since those cost little and affect every buyer's first impression. Save bigger paint and landscaping projects for areas buyers see first, and skip major renovations unless your agent confirms they will return more than they cost.
What repairs should I make before selling a house?
Focus on repairs a buyer's home inspection will flag: leaking faucets, running toilets, damaged caulk, cracked outlet covers, sticky doors, and missing shingles. Fix anything involving water, electricity, or safety first, because those items scare buyers and complicate financing. Cosmetic flaws like scuffed paint or worn carpet matter less than a functioning roof and furnace. Get a pre-sale home inspection if you want to find problems before a buyer does, then decide which items to fix and which to disclose as-is.
How long does it take to prepare a house for sale?
The timeline to prepare a house for sale depends on condition and how much decluttering, cleaning, and repair work is required. A week-by-week timeline helps: week one for decluttering and planning, week two for deep cleaning and minor repairs, week three for paint and curb appeal, and the final week for staging and listing photos. Homes with deferred maintenance or tenants may need longer. Ask your agent for a realistic schedule before you set a listing date.
What should you not do when preparing your house for sale?
Do not start major renovations like a kitchen remodel or bathroom gut job, since the full cost is often not recovered at closing. Avoid bold paint colors, heavy personal decor, and strong air fresheners that overwhelm buyers during showings. Be transparent about known defects, since disclosure obligations can apply to material issues. Finally, do not list before the cleaning and repairs are finished; a rushed listing with visible flaws may not present the home at its best.